To exchange a trip in the CRM, you'll need to use GDS and the CRM together. Let's look at the steps:
Step 1: Open All Sections in GDS
Use the Show All PF key in GDS to open all sections. Copy the displayed information to your clipboard.
Step 2: Open GDS Trip in The CRM
Go into the CRM and open GDS Trip as if you are entering a new trip.
Step 3: Paste Information and Start Exchange
Paste the copied information into the CRM and click Exchange.
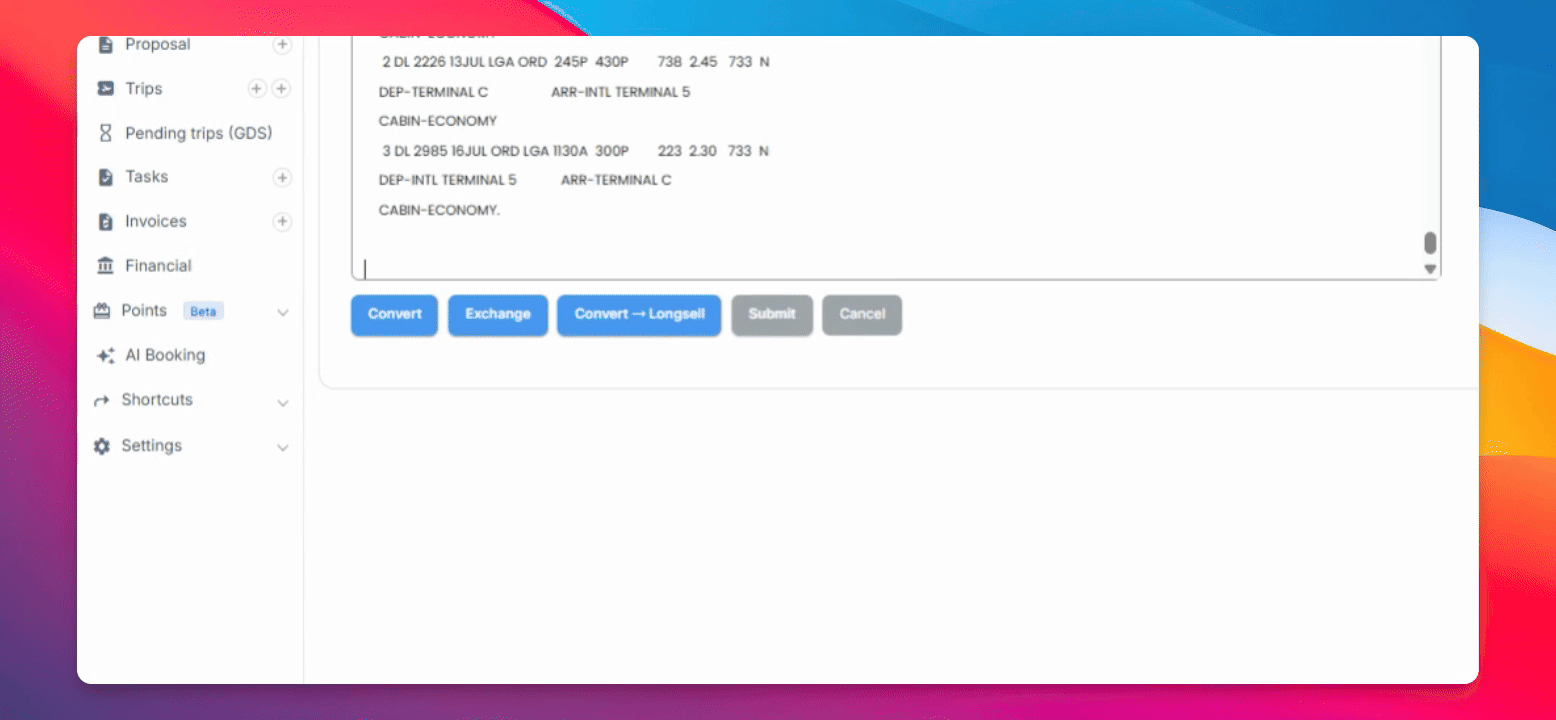
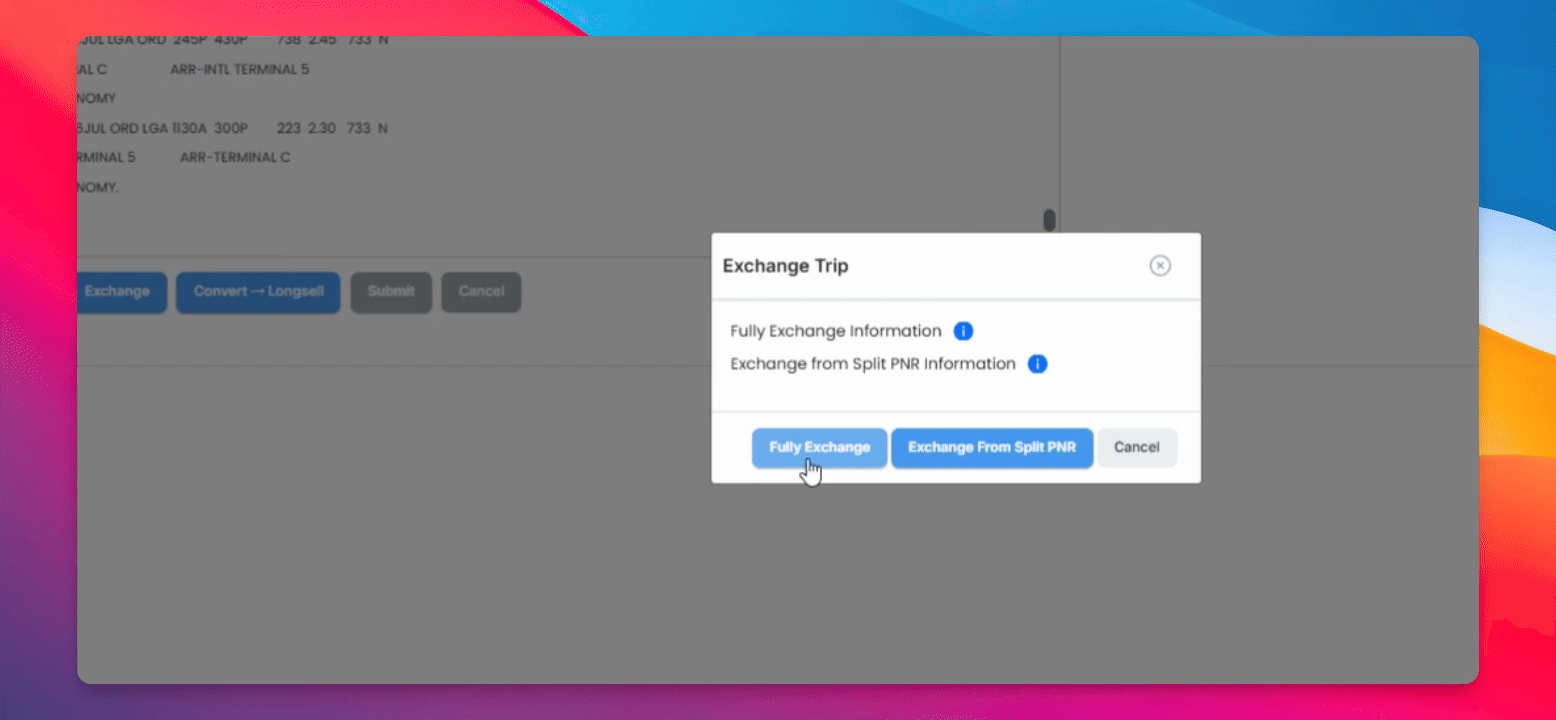
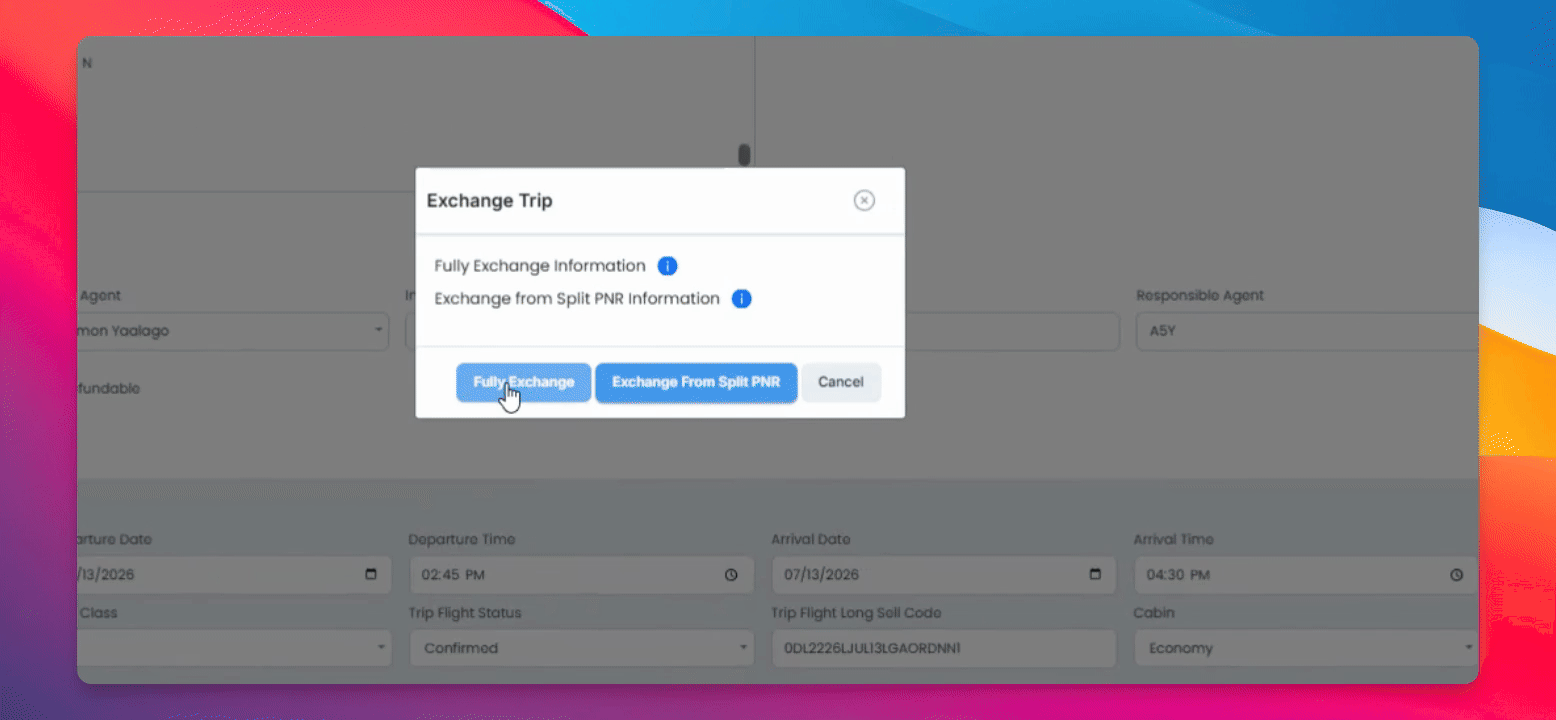
The first step of the exchange determines if you are fully exchanging a PNR. This means all travelers on the reservation are traveling on the new itinerary under the same trip and PNR number.
Step 4: Start the Fully Exchanged Function
Click on Fully Exchange to begin. If you accidentally click Convert instead, you can click Exchange to return to the same function.
Step 5: Confirm Dates and Review Trips
After confirming the dates, two columns will appear: the left shows your old trip (everything saved), and the right shows your new trip.
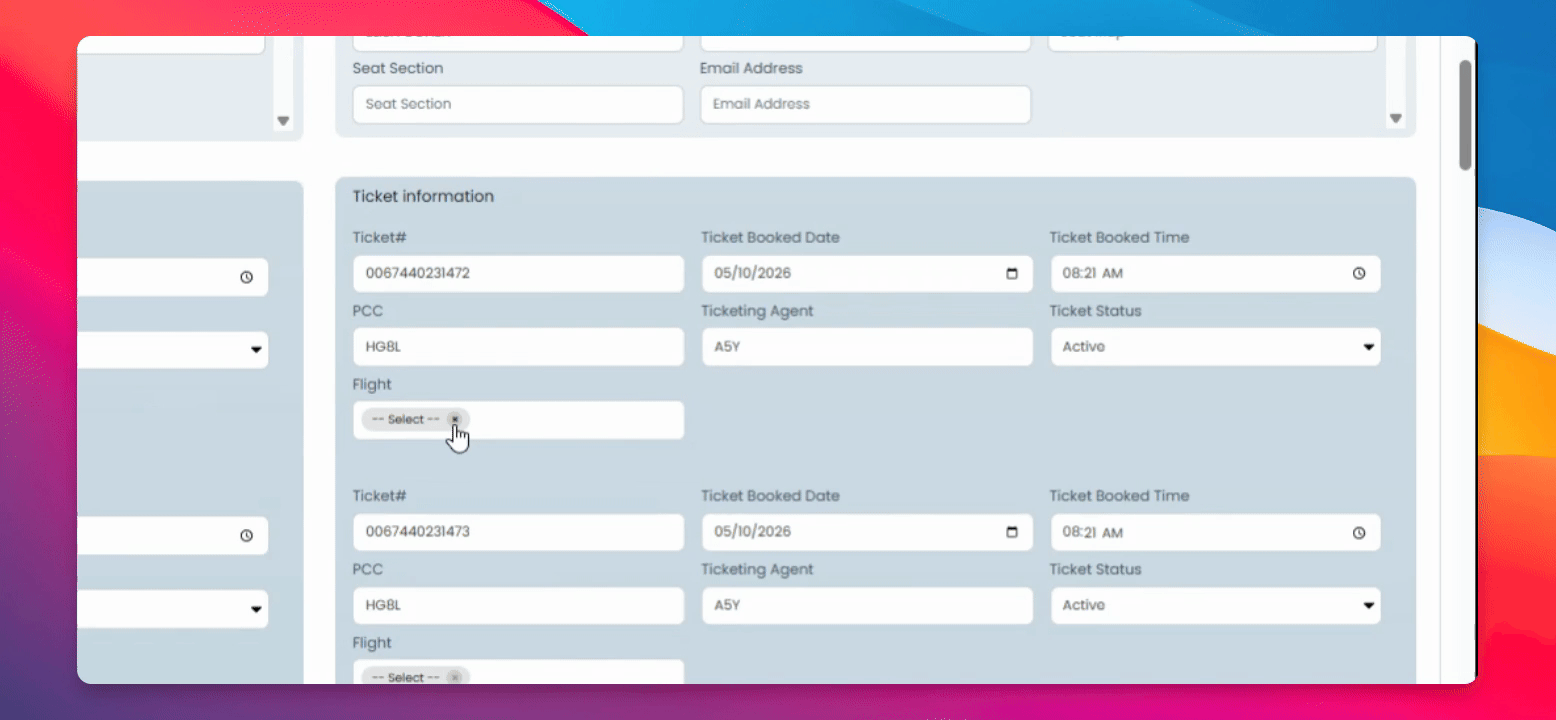
Step 6: Compare and Select Correct Information
Compare the information in both columns to ensure the right details are present. Select the correct information, such as Tickets for flight, to mark previous tickets as exchanged and assign the correct flight segments to the new ticket numbers.
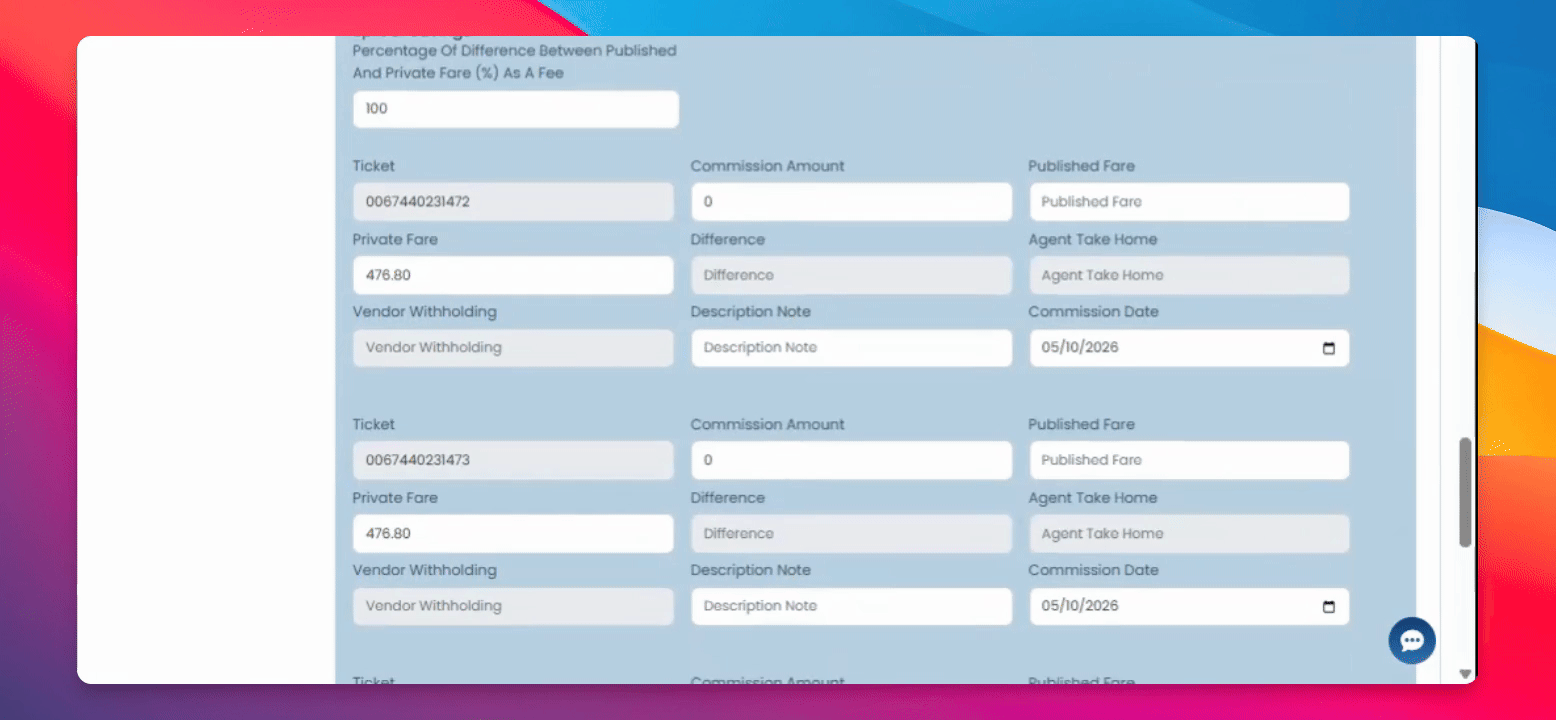
Step 7: Review Accounting Information
Review the accounting information. The top entry will be for previous tickets, and the lower entries are for new tickets.
Step 8: Repeat Splits and Submit
Repeat the splits as set by the original trip and click Submit to save your changes.
You can now go into the trip and confirm that everything was done correctly.