Let's discuss the best way to adjust the terms and conditions that show up on all the platforms and all the confirmations, invoices, and proposals. Let's look at the steps:
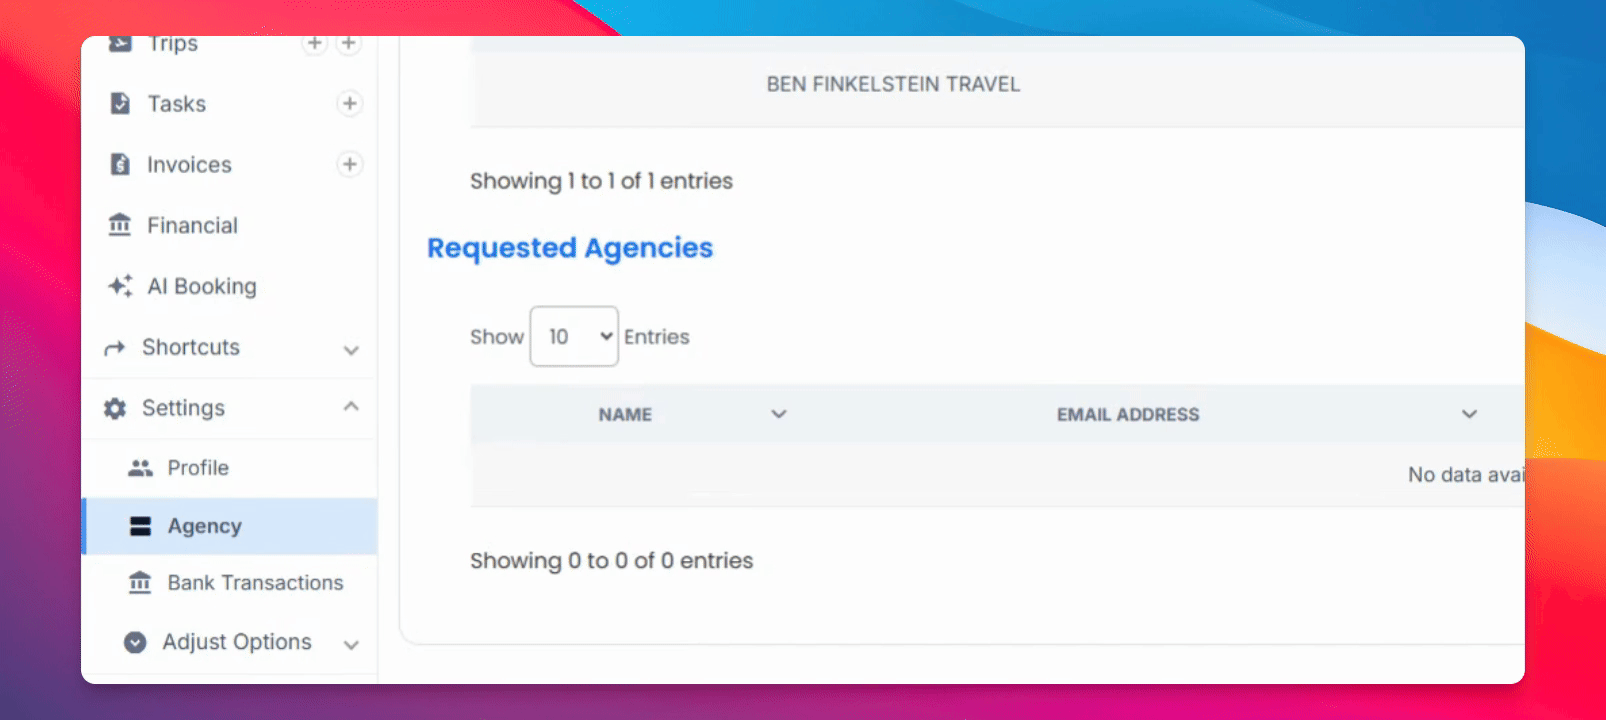
Step 1: Select Agency
Head over to the navigation bar and select agency.
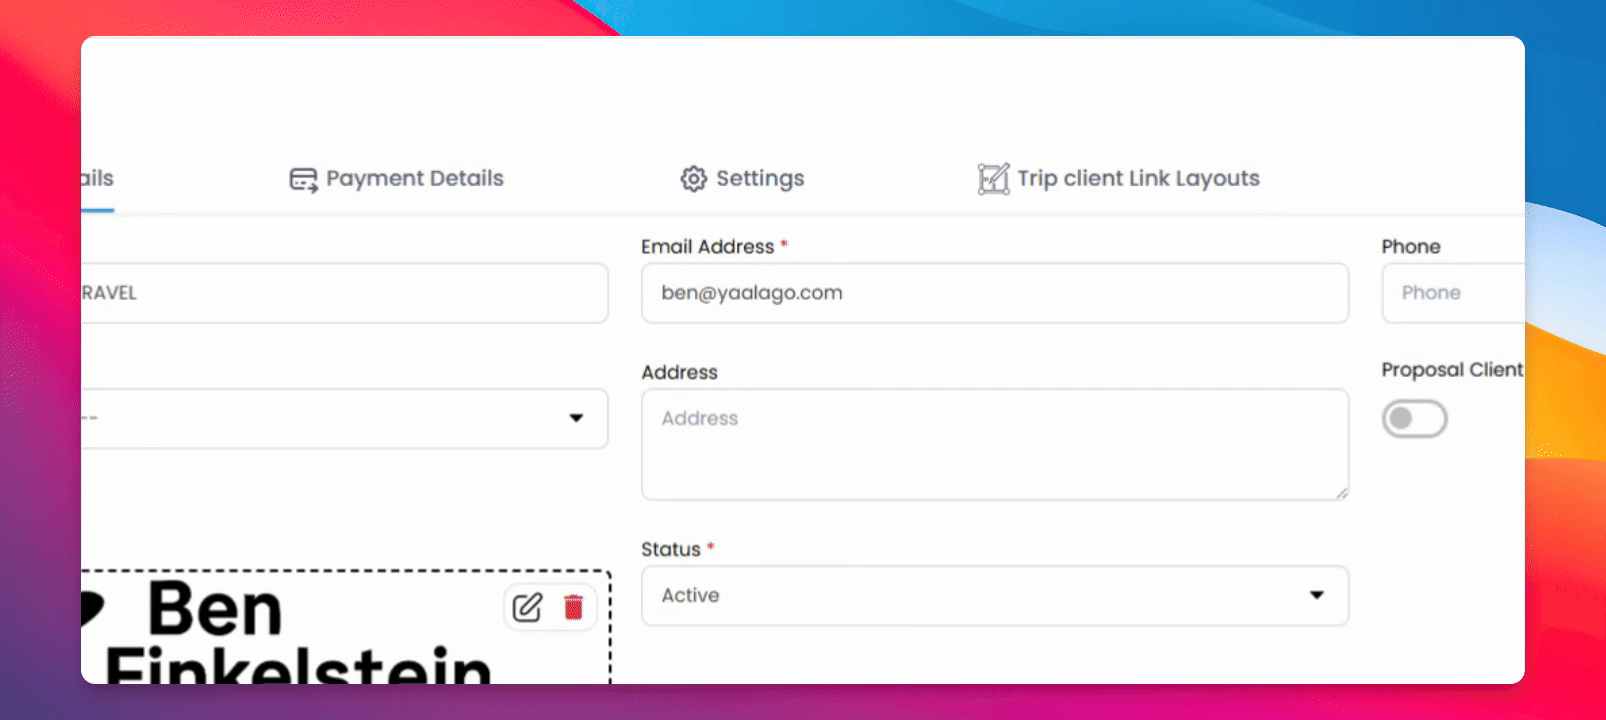
Step 2: Edit Agency
Select the pencil icon to edit your agency.
Step 3: Access Settings
Head over to the settings section to find all the terms and conditions that show up in various ways.
Step 4: Adjust Invoices
Here you have terms and conditions that show up on invoices. They are adjustable, so you can add and adjust according to your needs.
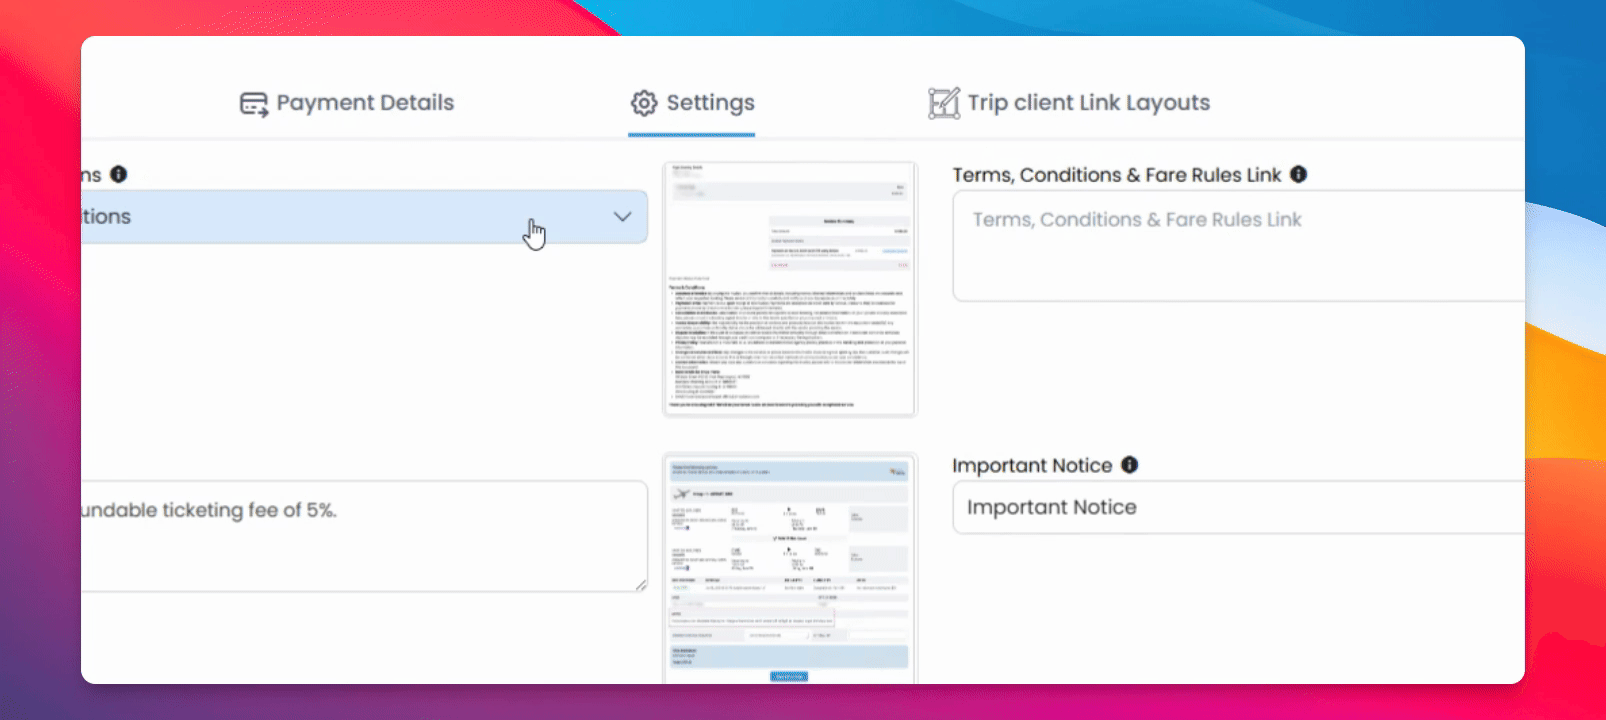
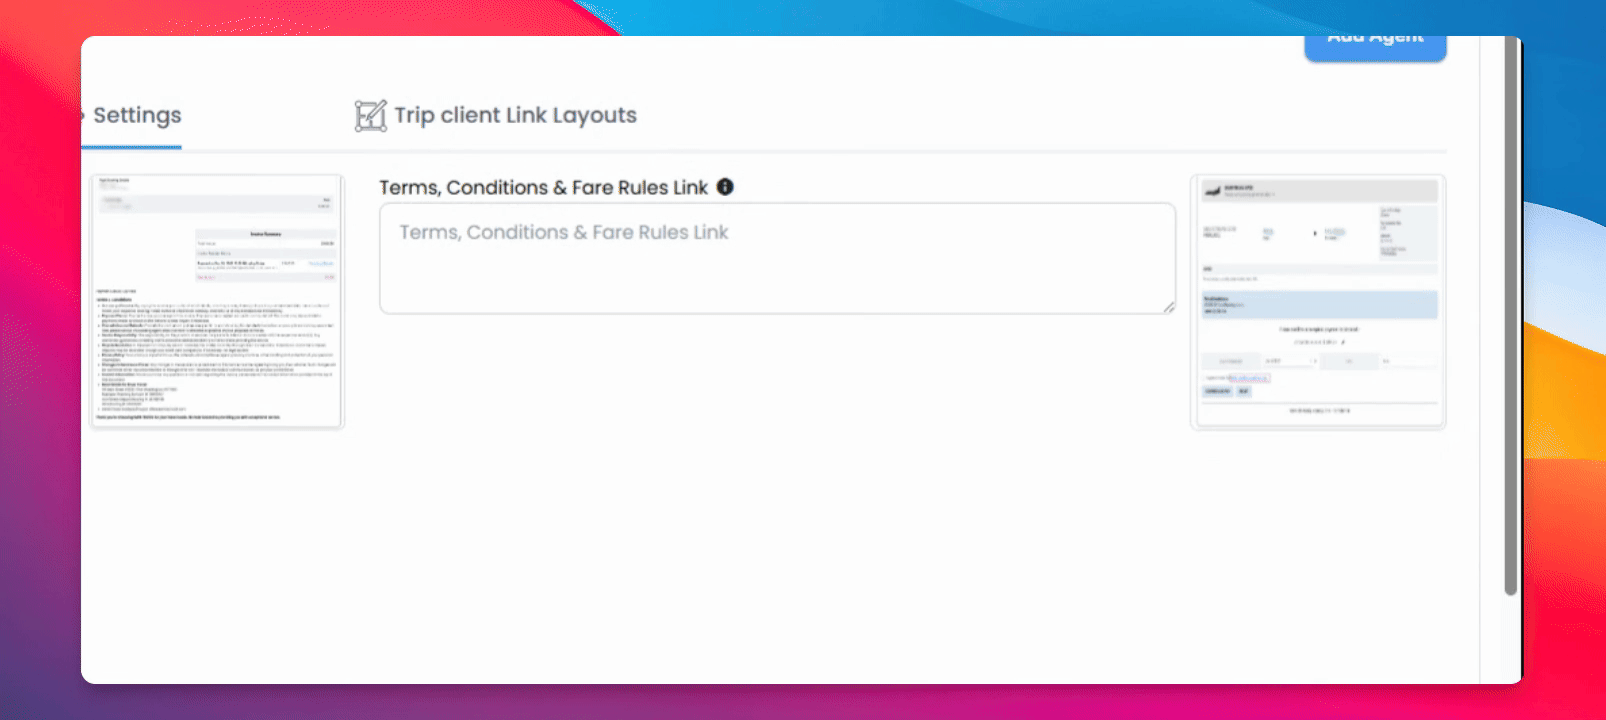
Step 5: Add Fare Rules
You can add terms and conditions and fair rules in a link form that will show the customer the fare rules according to the booking.
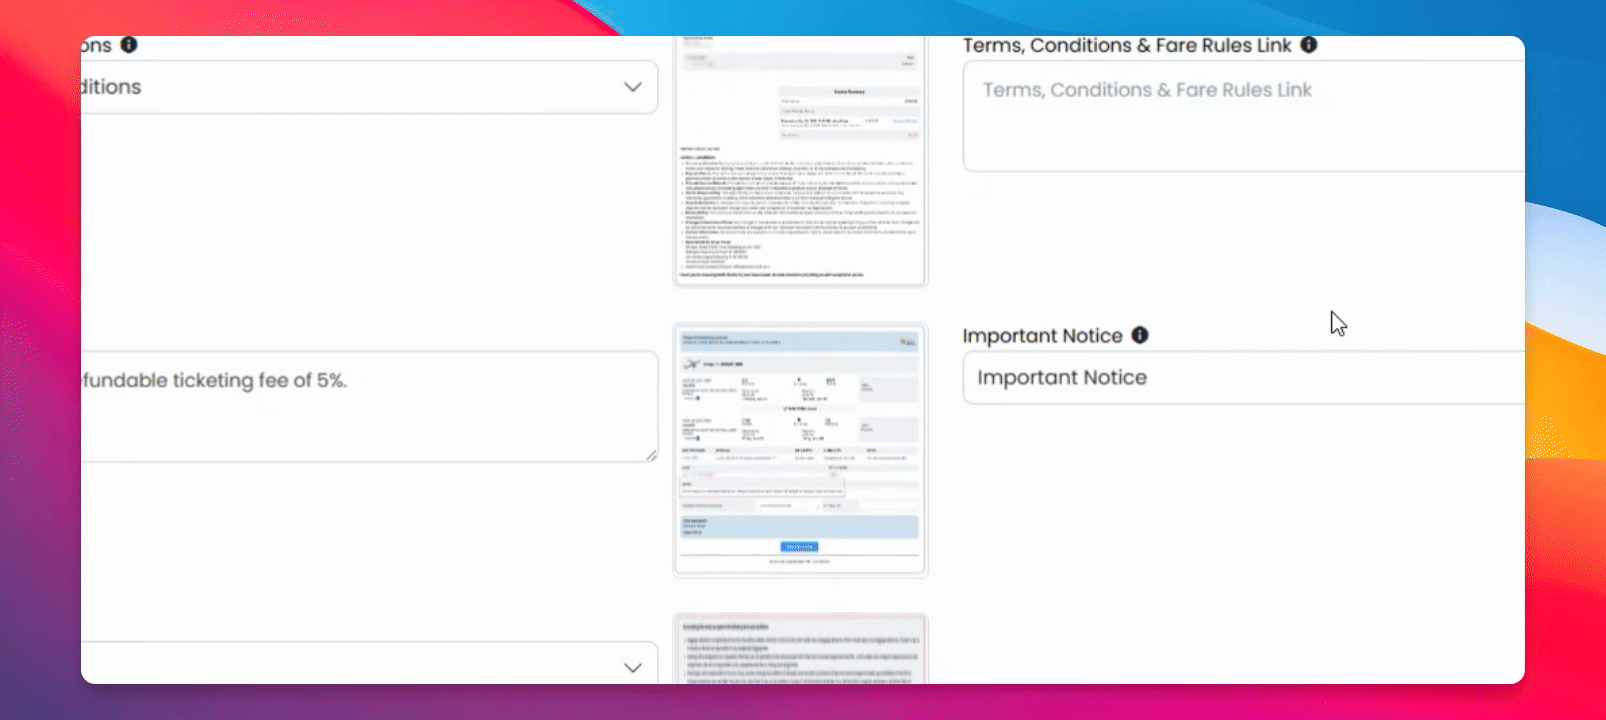
Step 6: Customize Notes
Here you can add custom notes that show up at the bottom, adjustable according to your agency's rules, as well as important notices that show up in general terms and conditions.
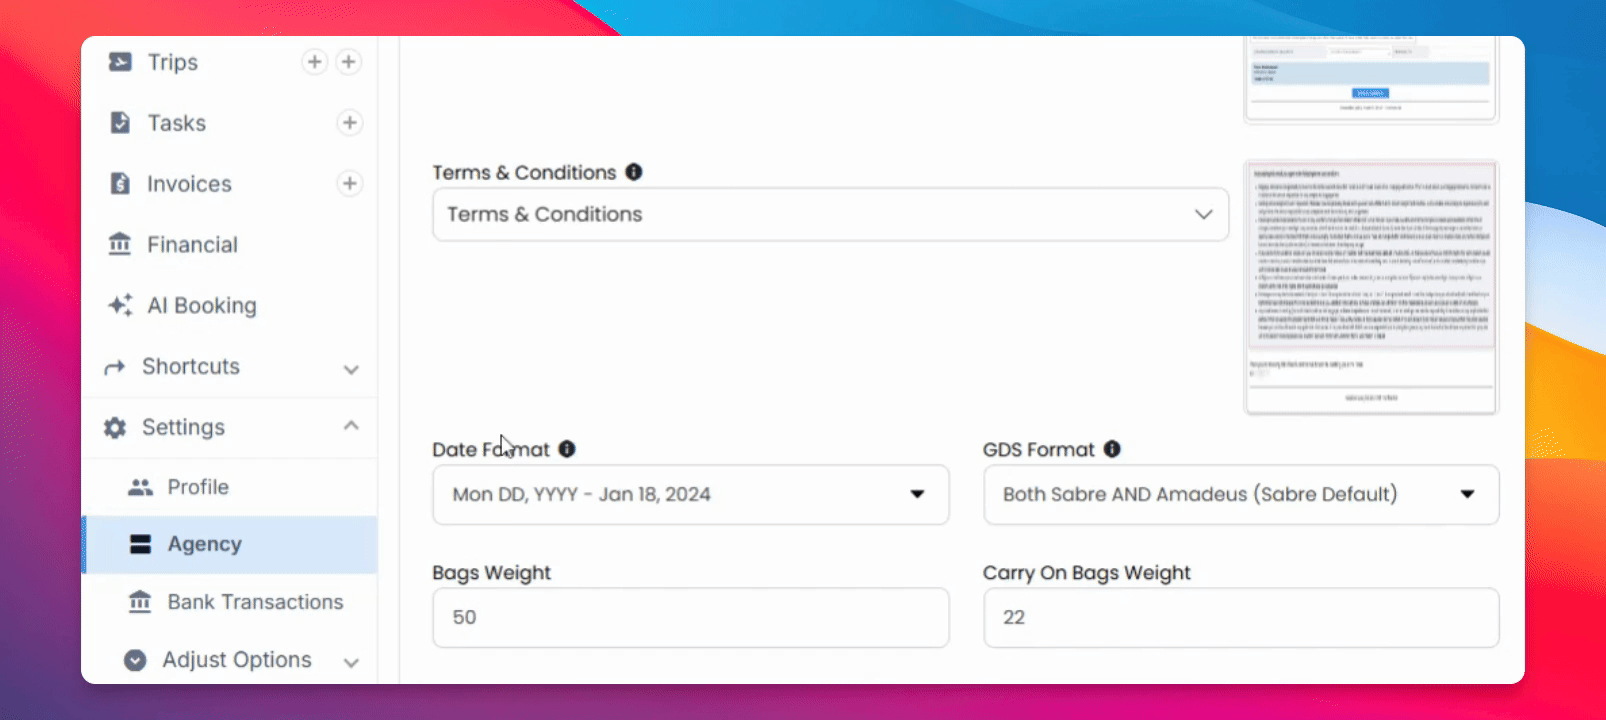
Step 7: Adjust Additional Formats
You have additional formats that are adjustable, including date formats, currency, and default weight units.
Step 8: Set Flight Reminder Emails
a configurable feature which automatically emails travelers about flights departing in the next 36 hours, reducing no-shows and support tickets. Best practice: set it to Agency only for internal testing and monitoring; once you’re confident in the timing, content, and delivery behavior, switch it to Agency and Clients to activate externally. With Agency only enabled, reminders route to your team first for review so you can validate and then forward to clients as needed.
When finished, click Submit to save and apply all changes across documents.